|
Discussions:
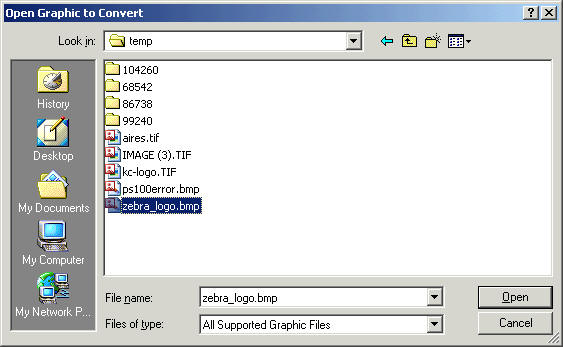
How to convert a graphic using the ZebraNet Bridge Enterprise. Goals: Provide step by step instructions for converting and printing graphics on ZPL based printers. Facts or Affected Items: ZPL II printers Changes: ZebraNet Bridge offers the ability to easily convert many graphic formats including .png, .bmp, .jpg and .tiff. The files do not have to be monochrome as with Ztools. Details If you have not done so already, download and install ZebraNet Bridge Enterprise The Graphic Conversion Process: 1. Go to Tools - Graphics Conversion Wizard. 2. Browse to the graphic you want to convert.
Once you have image you want select Next >. The next 2 screens allow you to rotate image and adjust image size. 3. Next you will assign a memory location where the graphic will be stored in the printer and the name used to recall the graphic. R = DRAM, E = Flash, B = PCMCIA Non-Volatile, A = Compact Flash Non-Volatile
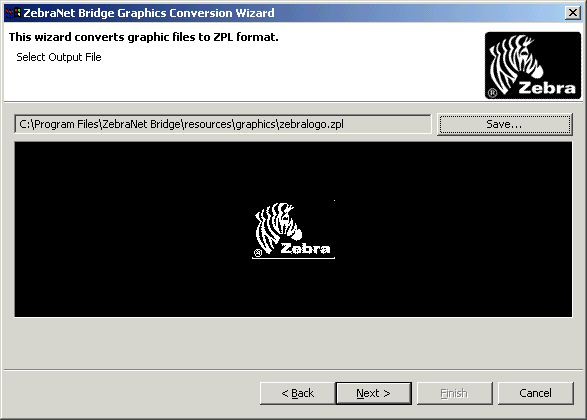
Note: only printers with firmware level 60.13.0.03 or higher will support .PNG (Compressed) graphic files. 4. Choose Save to save file locally.
Then select Next >. 5. File is now ready to be sent to printer. You can use ZebraNet Bridge to send file to printer or copy the file directly to the printer's port in DOS. 6. You can create a ZPL script to test the graphic: ^XA^FO50,50^XGR:zebralogo.GRF^XZ Notice: Zebra Technologies Corporation makes no representations about the suitability of this documentation for any purpose. It is provided "as is", for your information only, without warranty of any kind, either expressed or implied, including, but not limited to, implied warranties of merchantability, fitness for a particular purpose and non-infringement. Last Modified 12/20/2010 01:13:25 PM |